Learn how to cut square and angular holes
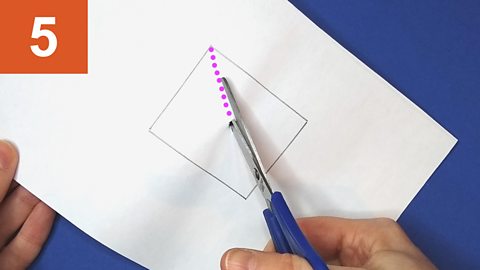
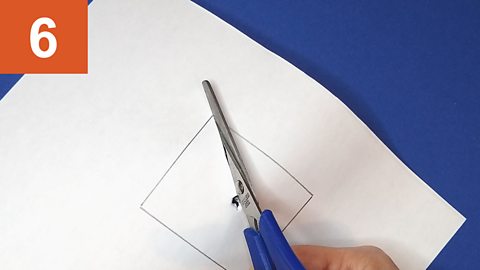
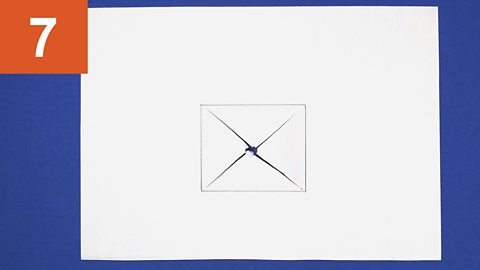
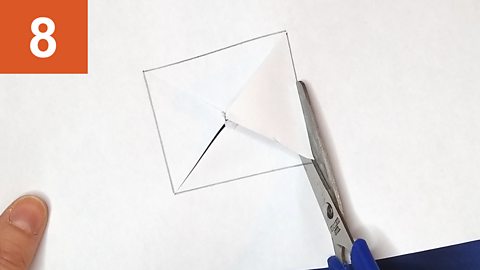
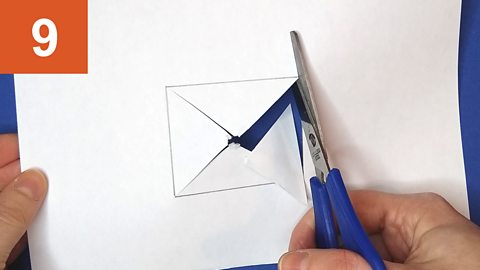
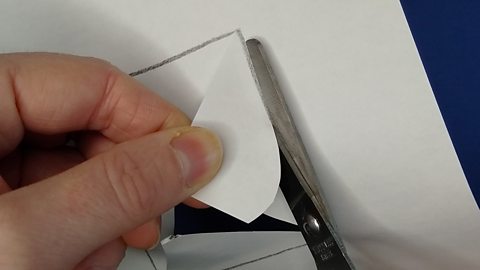
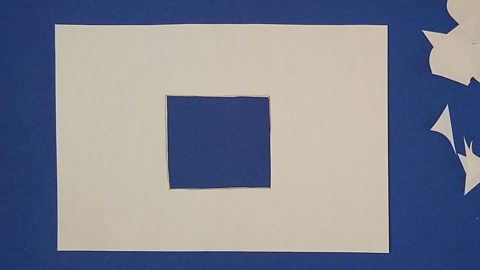
Cutting towards the corners and then along the sides is a great way to cut a neat square or angular hole in paper.
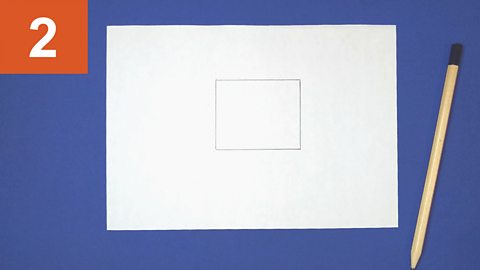
This option is fiddlier but you will keep your paper crisp and free from fold marks.


- Paper or card
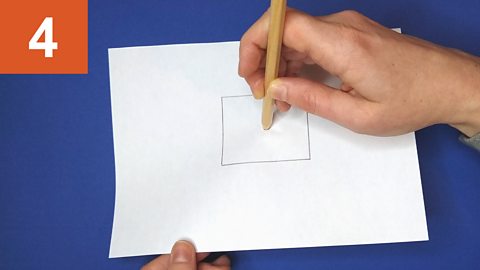
- Pencil
- Putty *
- Scissors
*(You could use something similar - it just needs to be something squishy that won't leave a mark on your paper)
If you want perfectly straight sides make sure you have a ruler. If you are worried about making a mistake when drawing, you'll need a rubber too.

For a quick overview, check out the video: Cut different types of holes
To work at your own pace, follow the slideshow instructions below:
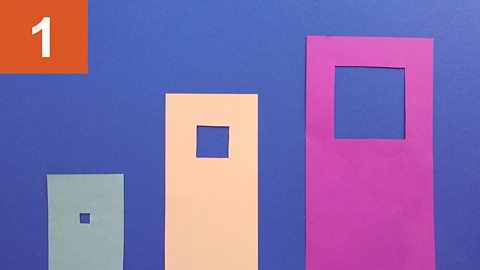
Image caption, Decide how big you want your hole to be and choose your paper

1 of 10
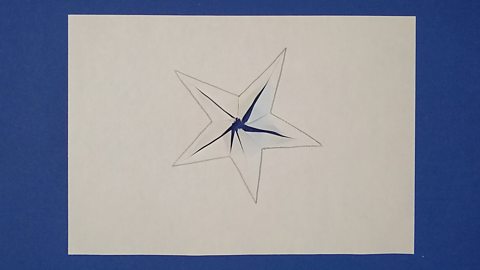
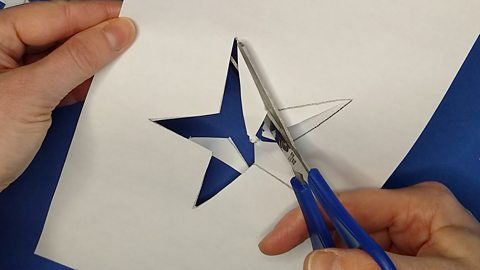
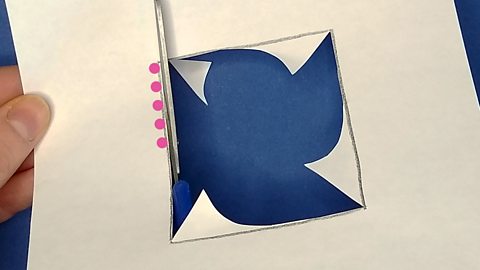
You can use the same technique to cut out angular shapes too:
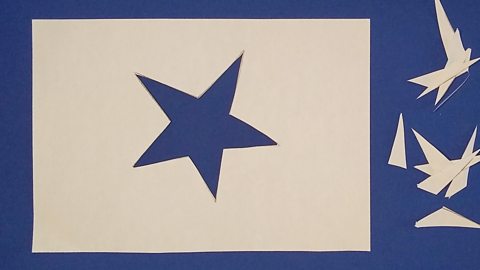
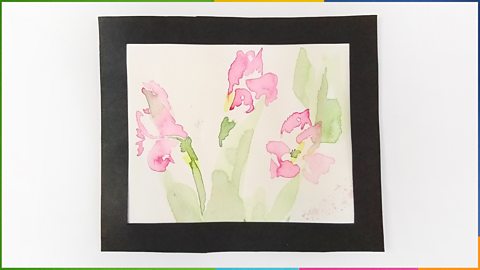
Artwork examples


Fancy a challenge?
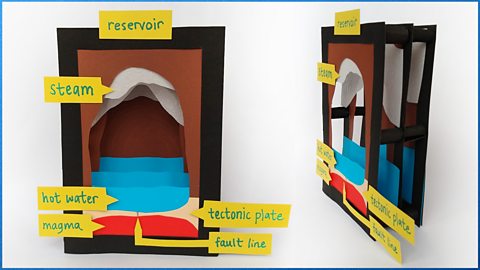
You can even layer card frames to create dramatic 3D scenes.
Learn how to create one with our guide:

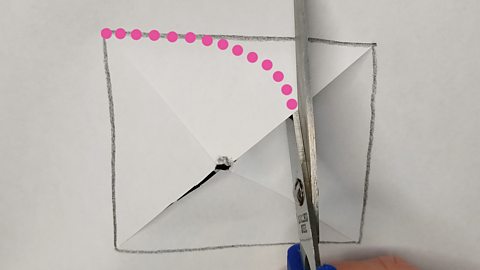
Are the corners difficult to cut neatly?
The corners can be difficult to get into, especially with very thin paper and thick card.
Tip: Cut toward each side in a curve.


Learning recap

You can create angular holes by cutting folded paper or by cutting the corners, then sides - one is quicker and the other is neater.
If cutting your shape is difficult try cutting in chunks.
You can layer holes to create exciting 3D scenes.
More on Design activity
Find out more by working through a topic
- count9 of 11

- count10 of 11

- count11 of 11
- count1 of 11